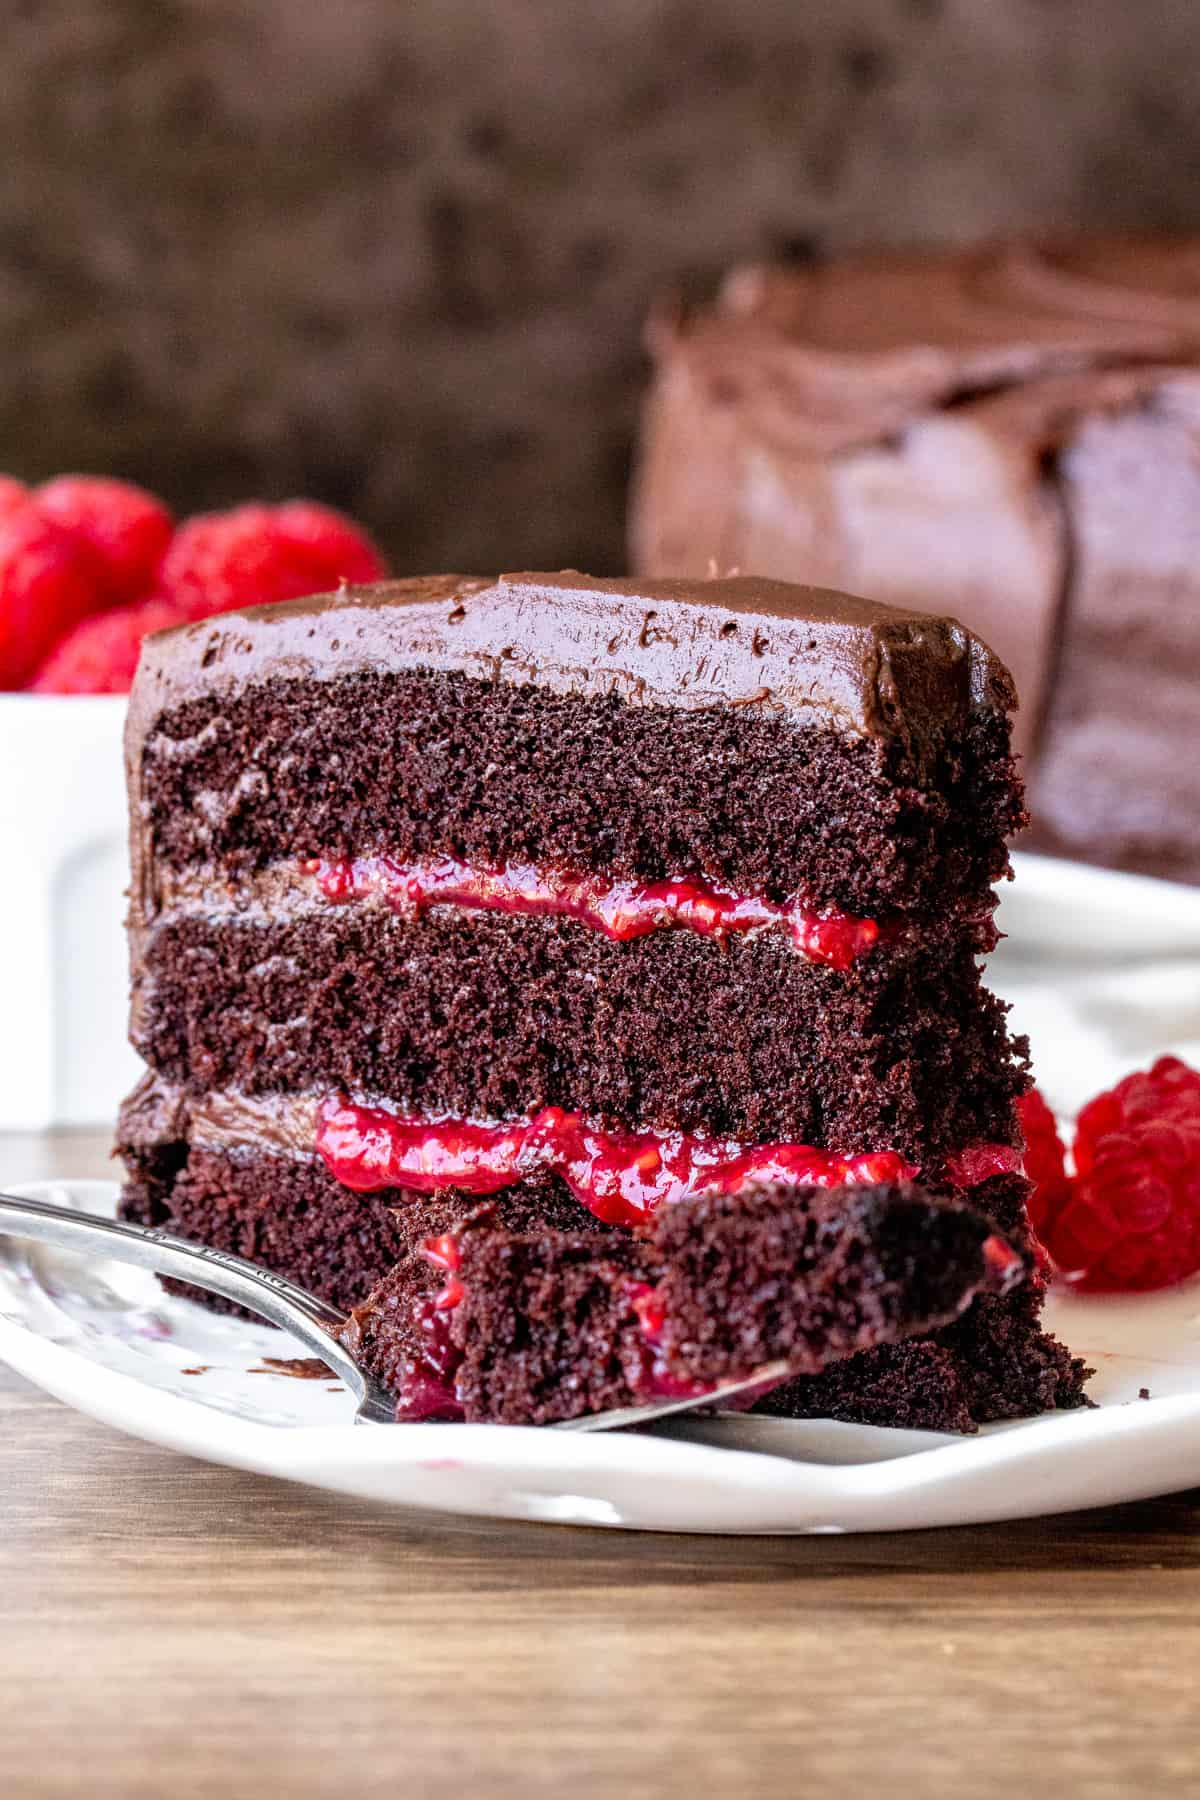
This delicious chocolate raspberry cake has layers of moist and fudgy chocolate cake sandwiched together with a sweet raspberry filling made from real berries. Then it’s frosted with creamy chocolate frosting. This cake looks elegant and tastes grown up.
If you love a moist and fudgy chocolate cake but want something a little more elevated – then this chocolate raspberry cake is the perfect recipe. The rich chocolate pairs perfectly with the bright raspberry filling. Then the chocolate frosting brings everything together for a delicious combination of flavors and textures. This cake is definitely rich, but it’s not as sweet as a typical layer cake with frosting because the frosting between cake layers is replaced with the raspberry filling.
FOR THE CHOCOLATE CAKE
The chocolate cake layers are my classic recipe that’s adapted from the Hershey’s tin. It uses oil so the cake stays soft and moist for days (don’t worry – you won’t taste it at all). Then the addition of buttermilk really provides the most incredibly tender crumb. While I highly recommend using the real thing, I’ve included a substitution in the recipe notes if need be. The addition of hot coffee, or boiling water, helps the cocoa powder to bloom – meaning that the flavor improves.
For this cake, it’s important that:
the ingredients are measured accurately
you sift the cocoa powder first to get rid of any lumps
the eggs and buttermilk are room temperature before getting started
FOR THE RASPBERRY FILLING
We’re making a homemade raspberry compote to fill the cake layers. It’s made from berries, a little lemon juice, sugar and cornstarch. You’ll first dissolve the cornstarch in the lemon juice, then gently boil everything together while occasionally stirring. The berries will start to soften and release their juices, then the mixture will thicken. You want to boil it down until the raspberry mixture is thick and would be very slow to pour. It doesn’t need to be as thick as peanut butter, but it should be much thicker than cream when you take it off the burner. It will then continue to thicken as it cools.
FROSTING & ASSEMBLY THE CAKE
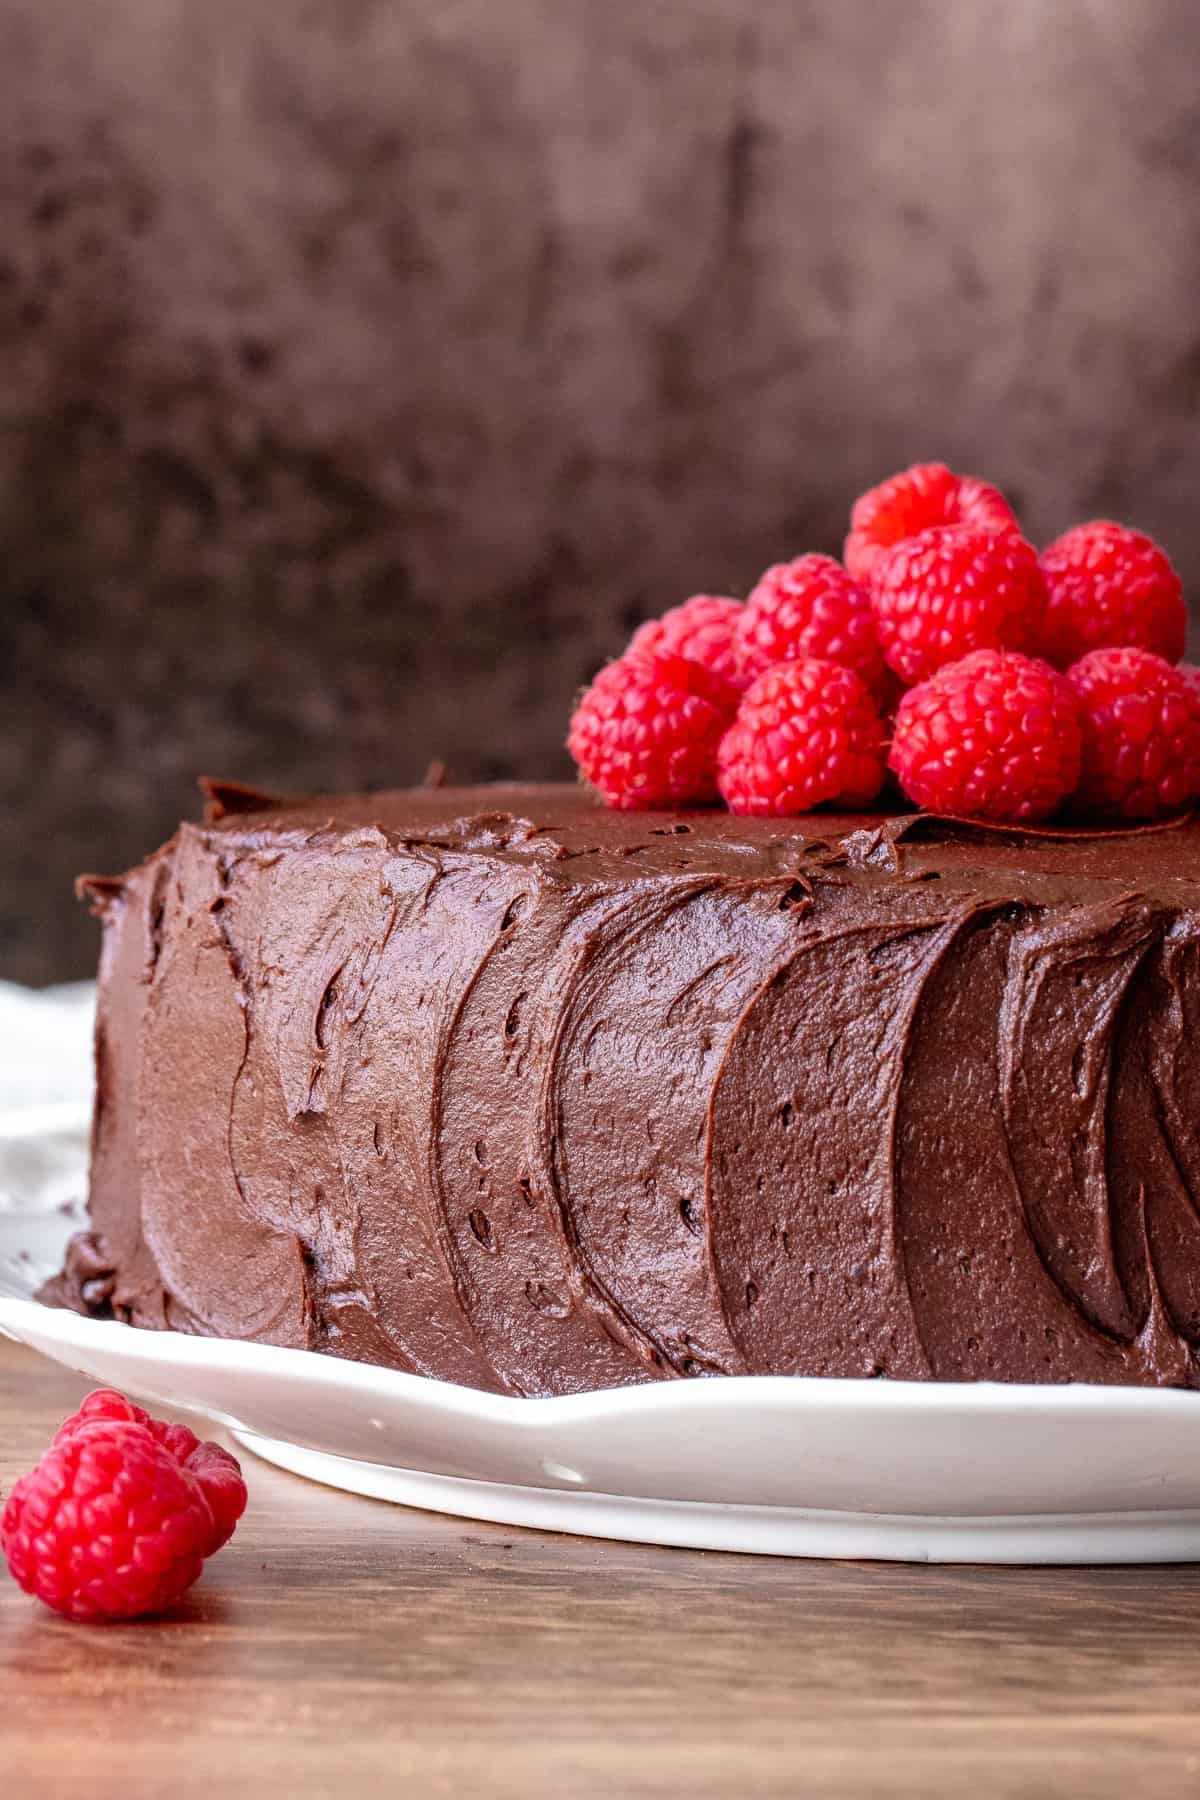
This recipe uses a classic chocolate frosting made with cocoa powder for creamy chocolate flavor. It’s simple and tastes delicious. You could also frost this cake with raspberry frosting too if you prefer.
To assemble the cake I first recommend sawing off the rounded tops of your cake layers if your cakes are domed. This step makes it so much easier because the layers will sit flat on top of each other. Always do this after the cake layers are completely cooled. You can also use cake strips (these can be purchased at a baking or kitchen store, or online) when baking the cake layers to avoid them baking with domed tops).
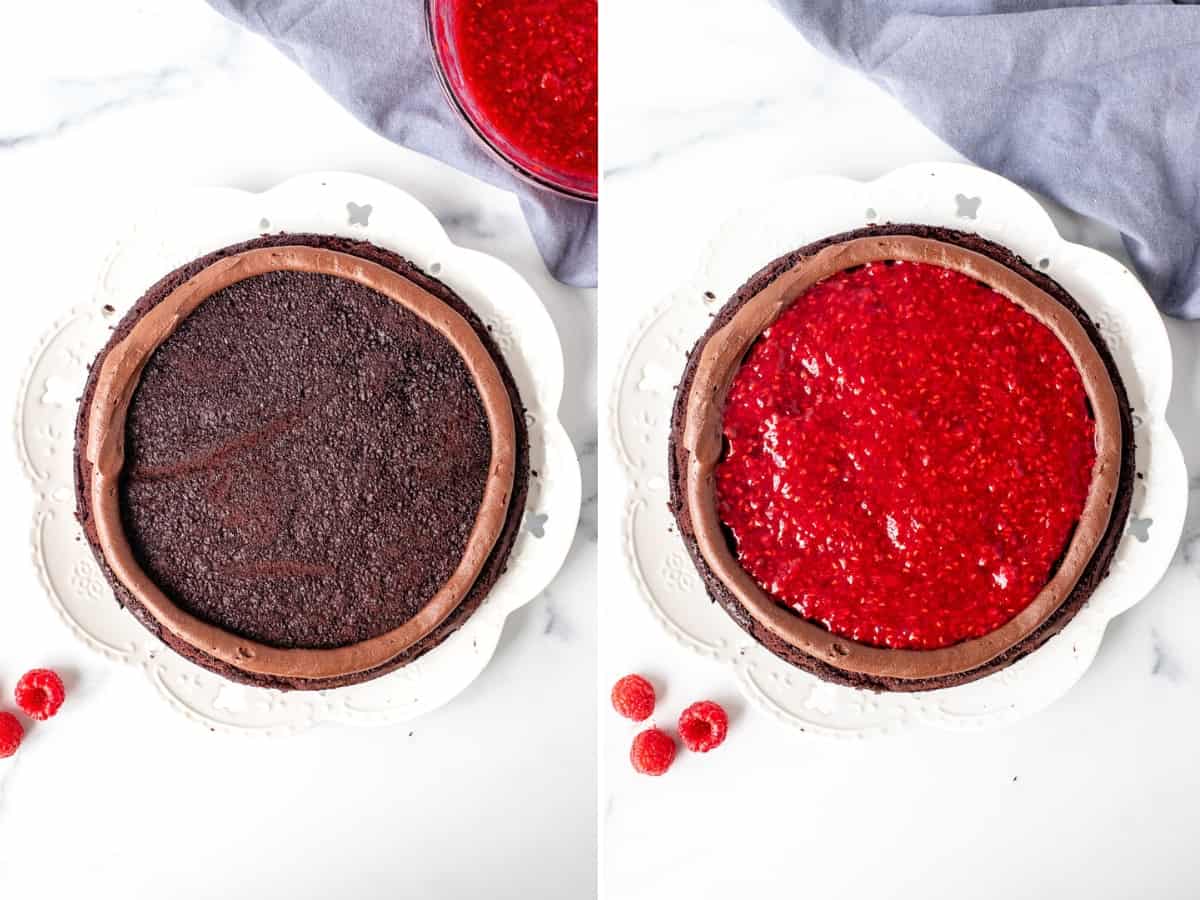
You’ll place one cake layer, top side down on the plate you plan to serve it on. Then make a border around the edge of the layer with chocolate frosting. I used a piping bag with a round tip for this, but a thick layer of chocolate frosting would work too. Then fill the middle with half of the cooled compote. Making the border with the chocolate frosting ensures that the raspberry filling doesn’t ooze out. Don’t forget this step! Then place the second cake layer on top (bottom side up) and repeat the process.
After the last cake layer is placed on top, it’s time to frost the sides and top of the cake with layers of swirly chocolate frosting. If you notice that the crumbs of the cake are getting into the frosting, then I recommend doing a crumb coat around the sides. This is simply a very thin layer of frosting to seal in the crumbs. Then you’ll do a second coat with swirls of frosting.
PAN SIZES
As pictured, I used three 8-inch sandwich tins. They baked for around 22 minutes at 350F (180C). You could also use:
Two 8-inch round tins with high sides (at least 2 inches/5 cm). They will bake for about 25-30 minutes.
Two 9-inch round tins. They will bake for about 25 minutes.
If using two tins, you can choose to either make a two layer cake or slice the cooled cakes in half for a 4 layer cake. I likely wouldn’t do a 4 layer cake with the 9-inch round tins, as the layers will be very thin and harder to work with.
MAKE AHEAD TIPS
I always make the cake layers and raspberry filling the day before I plan to serve. Wrap the cooled cake layers tightly and store at room temperature. Place the raspberry filling in an airtight container and store in the fridge. Then I make the frosting and assemble the cake the day I plan to serve it.
Equipment
3 8-inch round cake pans
Continue Reading in next page

